SCFO #002: How To Document An SOP The Easy Way.
Read time: 2:30 minutes
The #1 reason most solopreneurs struggle with efficiency and accuracy is that processes aren't documented for clients, employees, and VAs.
I know this because I used to do it.
I'd haphazardly explain a procedure once and expect the client to remember how to do it from then on.
Inevitably, the next time they tried it, they'd miss a step or two or reach out again for help.
Alternatively, the same question would come up from a different person.
This is where documenting standard operating procedures (SOPs) can save you hundreds of hours.
Unfortunately, most solopreneurs don't make SOPs because they HATE making them.
Why? Because they're:
Boring: SOPs are not fun to create, let's face it.
Difficult: SOPs often aren't templatized, which makes creating them difficult.
Time-Consuming: Taking screenshots and writing them out takes time.
But, by adding a simple tool to the mix, you can easily change that with the following four steps.
P.S. if you're a visual learner, stay to the end for some examples.
Step 1: Leverage technology to make SOPs a breeze.
Using technology like Scribe can make the creation process so. much. easier.
Why?
Because it automates the documentation process.
With a FREE Google Chrome Extension, I can seamlessly:
Record myself walking through a task
Generate an editable step-by-step guide, and
Share the guide with a client.
This tool has saved me 20+ hours explaining redundant tasks like how to keep time, request time off, and request expense reimbursements.
Step 2: Record your SOP
After adding Scribe from the Google Chrome Webstore, you'll generate a standard operating procedure by:
Clicking the extension
Starting a recording
Completing your step-by-step procedure, and
Stopping the recording
Voila - just like that your task is now fully documented.
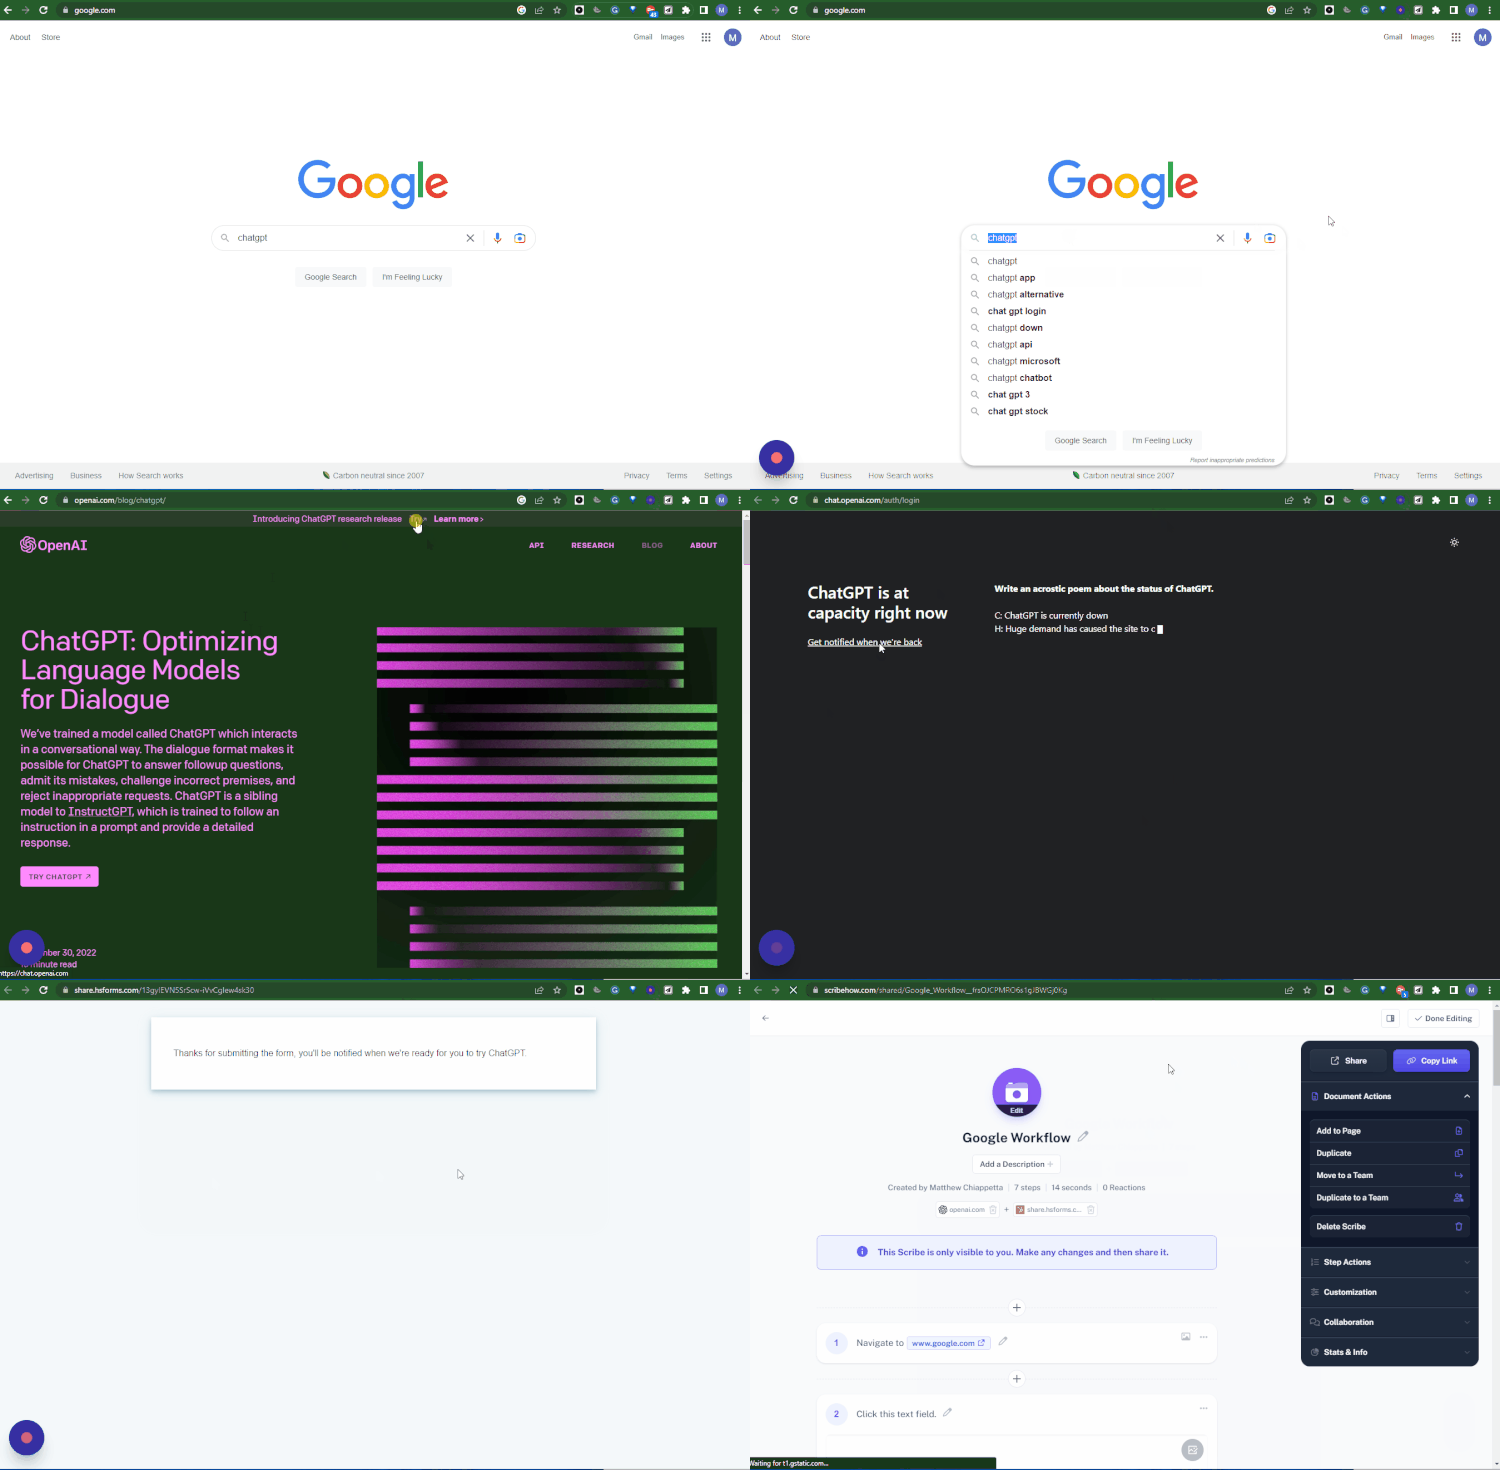
Want to see for yourself? Here's a quick example of the output → Scribe Example: How to Use Scribe
Step 3: Edit your SOP.
Every step in Scribe is fully editable after you finish recording your SOP.
You can:
Name the Guide
Add a Description
Edit the pre-populated instructions
Delete irrelevant steps
Add to your recording, and
Redact sensitive information
Since the information is saved on Scribe, it gives you the flexibility to create a quick prototype that you either edit on the spot or at a later time.
Step 4: Save and share your SOP.
Now that you've created your SOP, the last step is to save and share it.
All SOPs are saved in Scribe, but I'll typically export the file to PDF and save it locally so that others can access it as needed.
Here are some of the other ways you can share your guide:
Export to PDF
Copy the link and share it
Email from Scribe to the client/employee/VA
Embed the guide into platforms like Notion or SharePoint
TL;DR
Download Scribe from the Google Chrome Webstore
Record your SOP
Edit your SOP
Save and Share your SOP


